The oven is the heart of any kitchen, where delicious meals are created and memories are made. However, regular use can leave this essential appliance covered in grease, grime, and stubborn food residues. A clean oven not only ensures better cooking results but also promotes a healthier cooking environment. In this blog, eMaids will walk you through a step-by-step guide to master the art of oven cleaning. By following these simple yet effective techniques, you can achieve a sparkling and well-maintained oven that enhances your culinary endeavors.
Step 1: Safety Precautions
Before starting the cleaning process, ensure your oven is turned off and has cooled down completely. Wear protective gloves and have proper ventilation in the kitchen by opening windows or turning on exhaust fans.
Step 2: Remove Oven Racks
Take out the oven racks and place them in a sink filled with warm, soapy water. Allow them to soak while you clean the rest of the oven.
Step 3: Prepare a Cleaning Solution
Create a cleaning solution by mixing equal parts of baking soda and water to form a paste. For added effectiveness, you can add a few drops of dish soap or white vinegar to the mixture.
Step 4: Apply the Cleaning Paste
Use a sponge or a brush to apply the baking soda paste to the interior of the oven, including the walls, bottom, and door. Avoid applying the paste to heating elements or any other electrical components.
Step 5: Let It Sit
Let the cleaning paste sit for at least 12 hours, or preferably overnight. This allows the baking soda to work its magic by loosening the grime and grease.
Step 6: Wipe Down the Interior
After the designated time has passed, use a damp cloth or sponge to wipe down the interior of the oven. The grime should come off easily, but you may need to use some elbow grease for stubborn spots.
Step 7: Clean the Oven Racks
Take the oven racks out of the soapy water and scrub them with a sponge or brush to remove any remaining grime. Rinse them thoroughly and dry before placing them back in the oven.
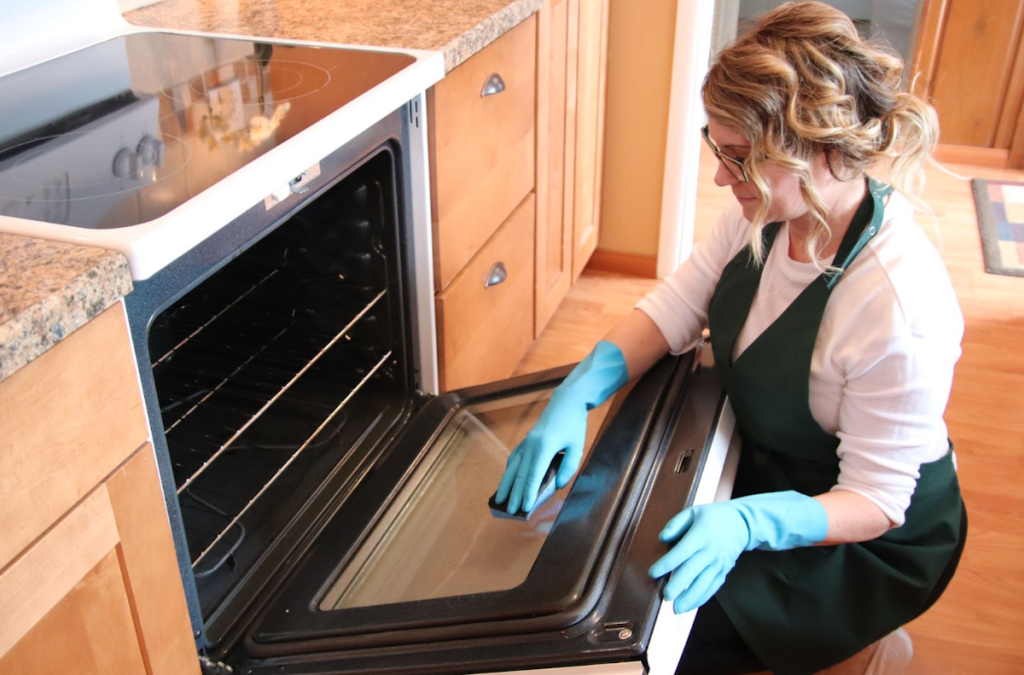
Step 8: Clean the Oven Door
To clean the oven door, create a mixture of equal parts water and vinegar. Spray the solution on the glass door and wipe it clean with a microfiber cloth.
Step 9: Final Rinse
Wipe down the interior of the oven again with a clean, damp cloth to remove any residue from the cleaning solution.
Step 10: Optional - Self-Cleaning Function
If your oven has a self-cleaning function, you can use it after performing the initial steps. Be sure to follow the manufacturer's instructions and safety guidelines for using this feature.
Conclusion
The art of oven cleaning involves patience and attention to detail, but the results are well worth the effort. A clean oven not only enhances cooking performance but also ensures a healthier kitchen environment. By following this step-by-step guide and considering the help of eMaids for professional home and oven cleaning services, you can keep your oven in pristine condition and maintain a well-functioning appliance that brings joy to your culinary adventures. Let eMaids be your partner in oven maintenance, so you can focus on creating delectable dishes for yourself, your family, and your friends. Reach out to eMaids today for happy cooking!